什么,网站不安全!!!那怎么办,万一传输数据过程中数据被窃取怎么办?
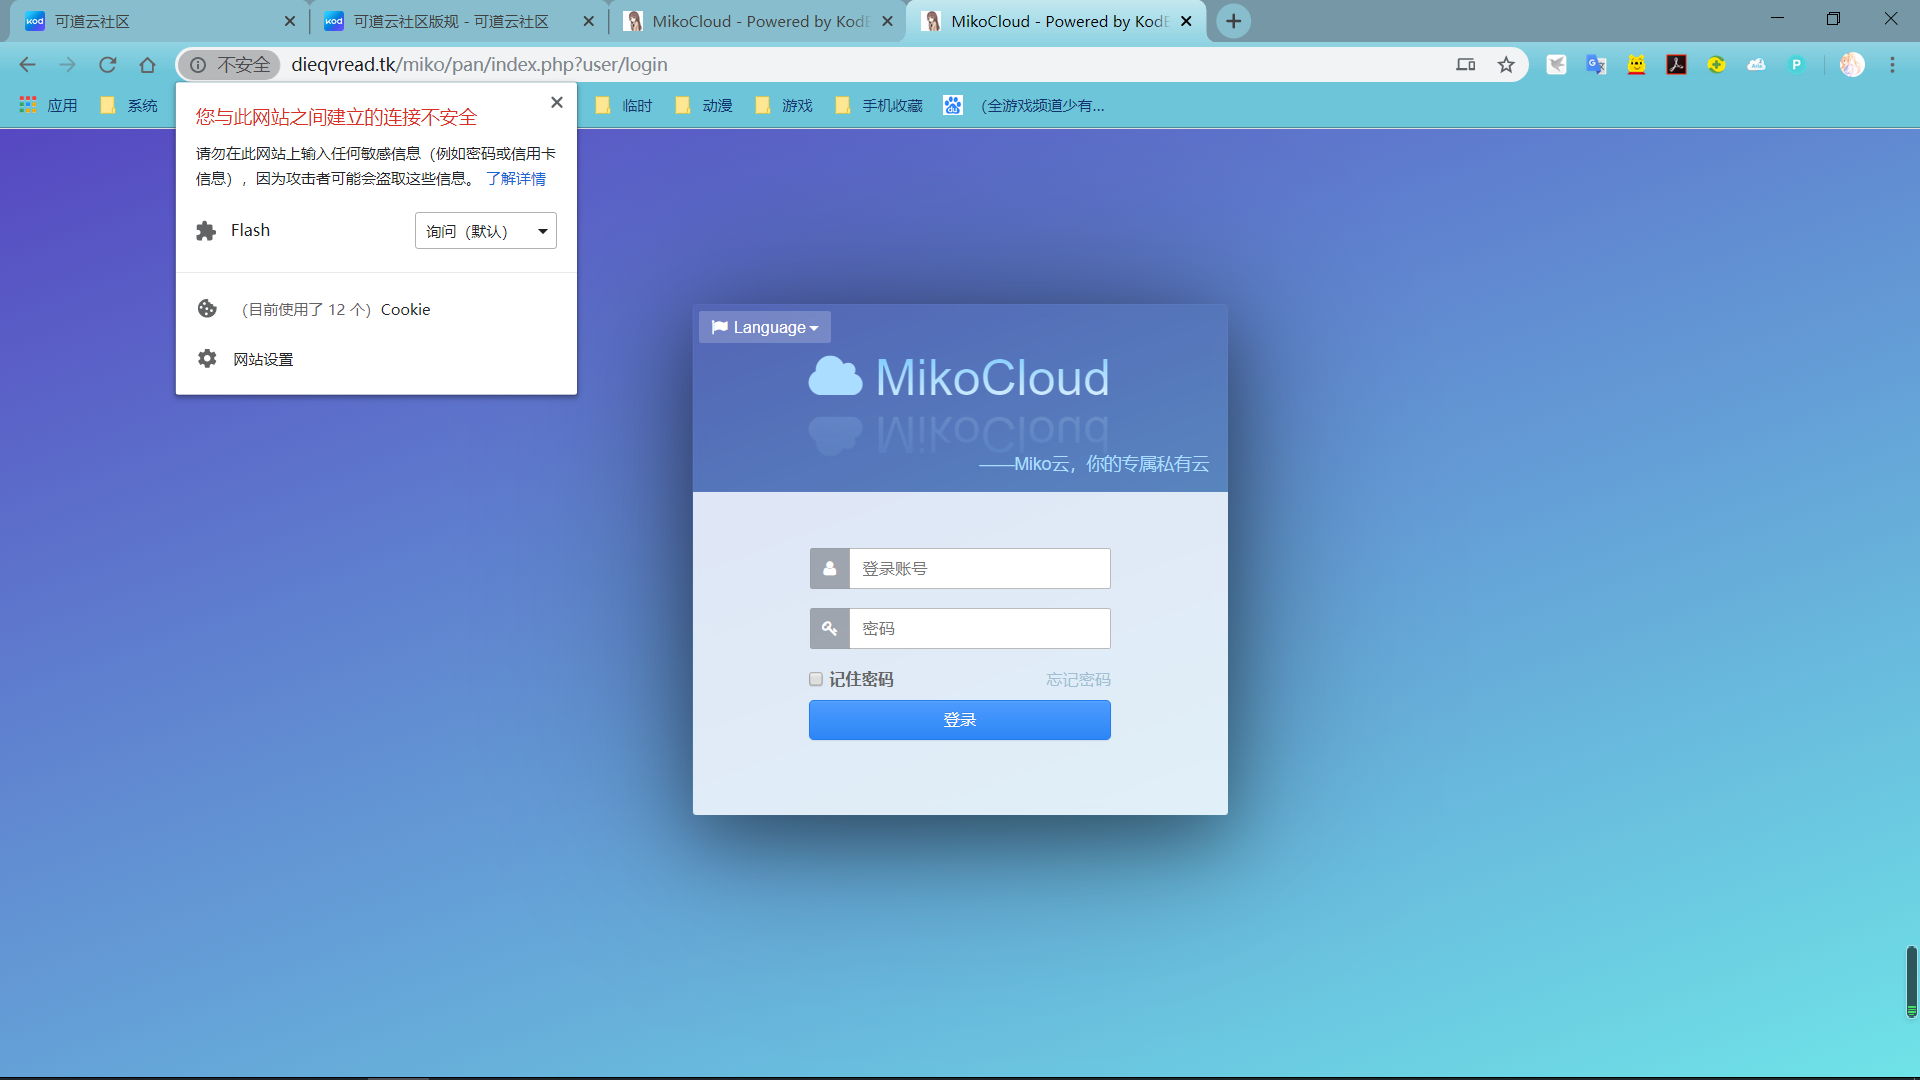
那我今天就教大家开启https的方法
这里采用阿里云提供的免费证书,首先百度阿里云

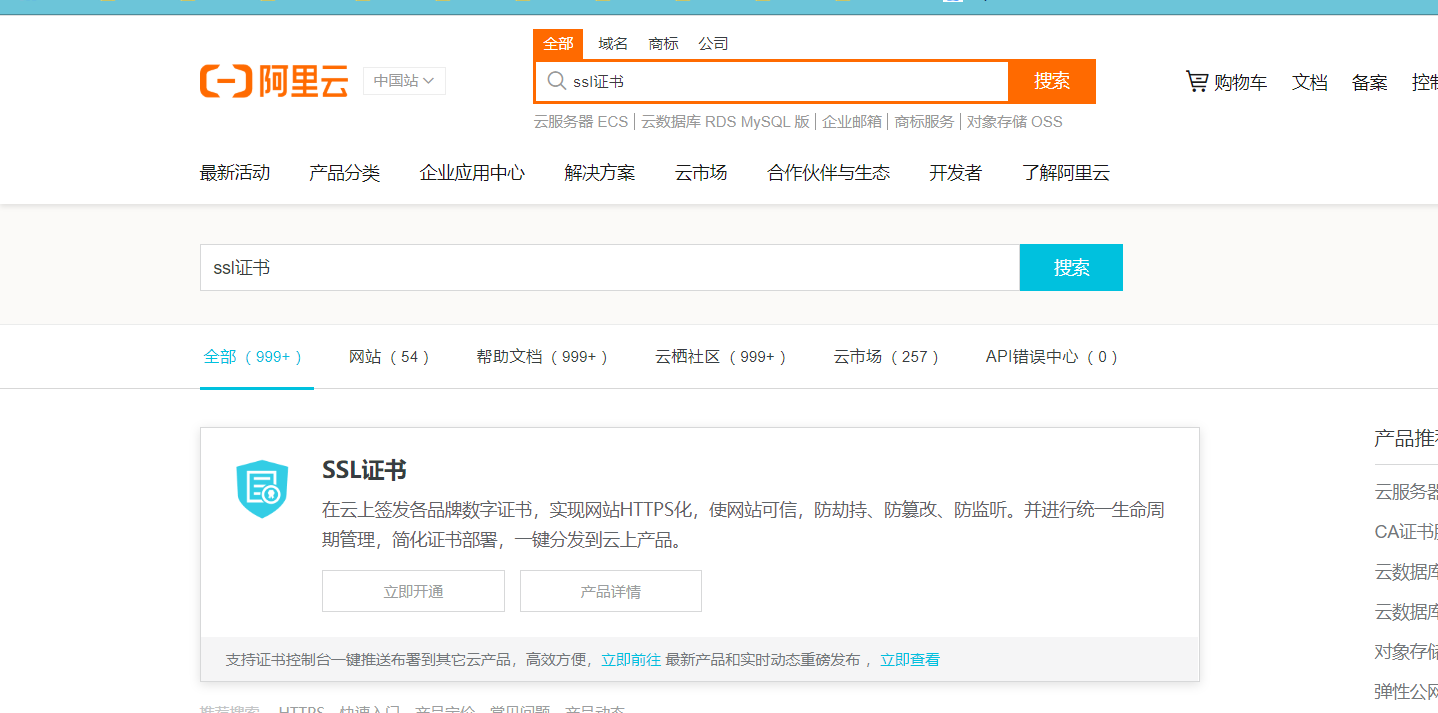
接着打开官网,在官网搜索ssl证书选择立即开通
接着选择免费版(个人),然后点立即购买
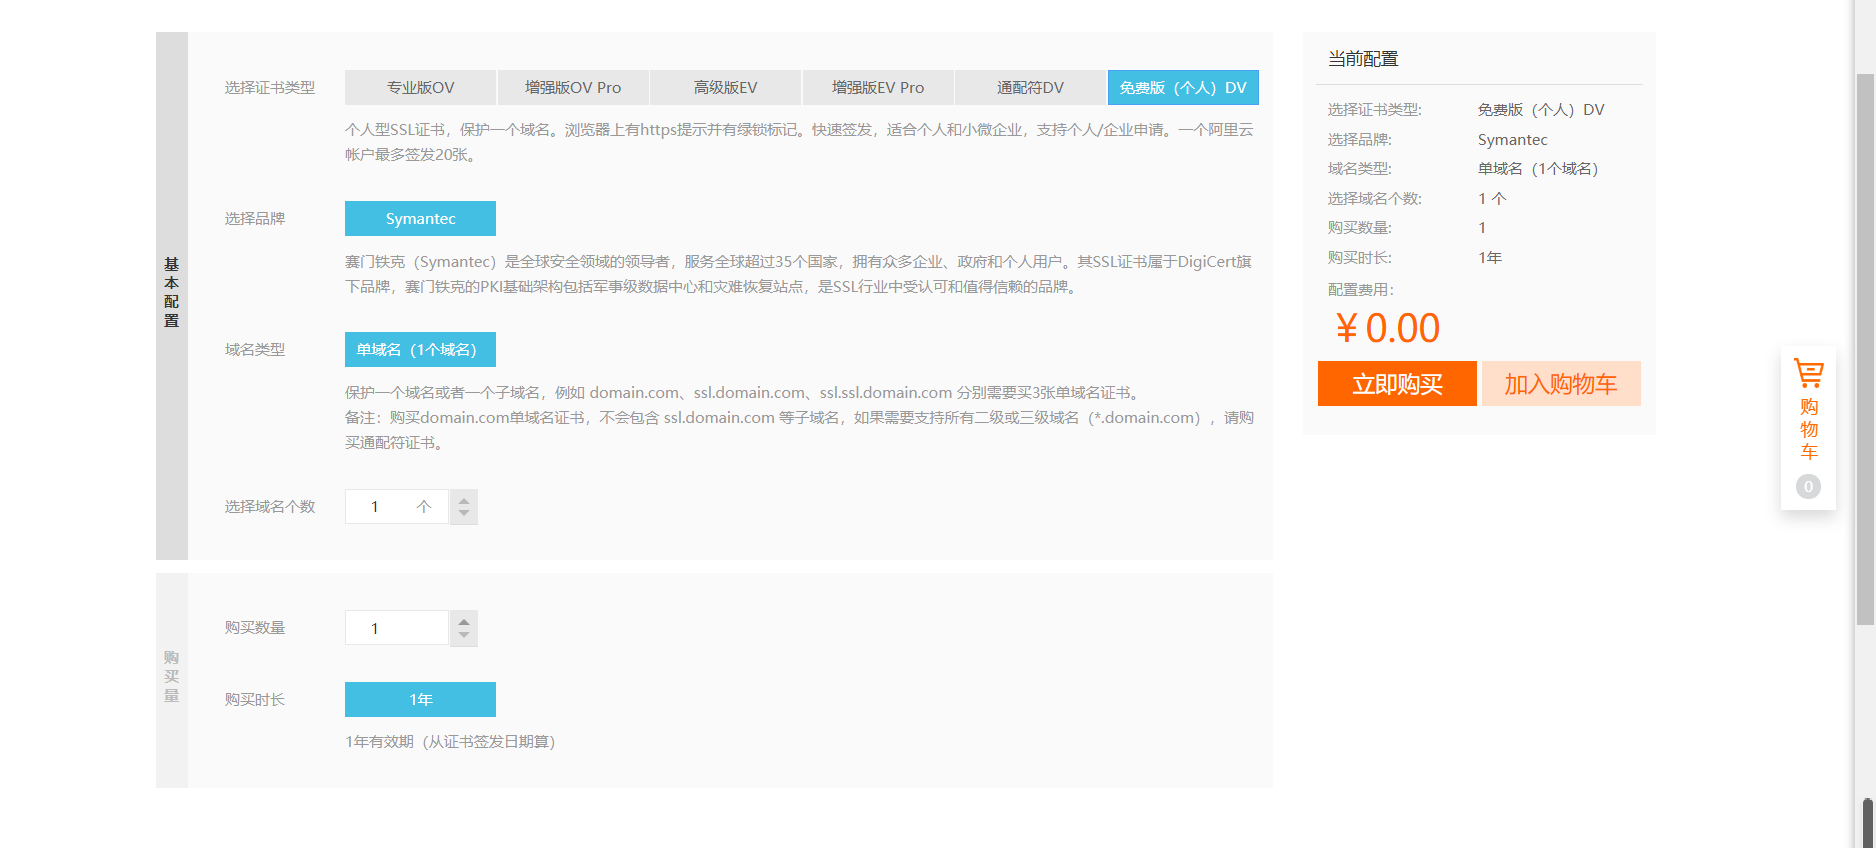


接着点证书控制台,打开后选择证书申请

输入你的域名点击下一步
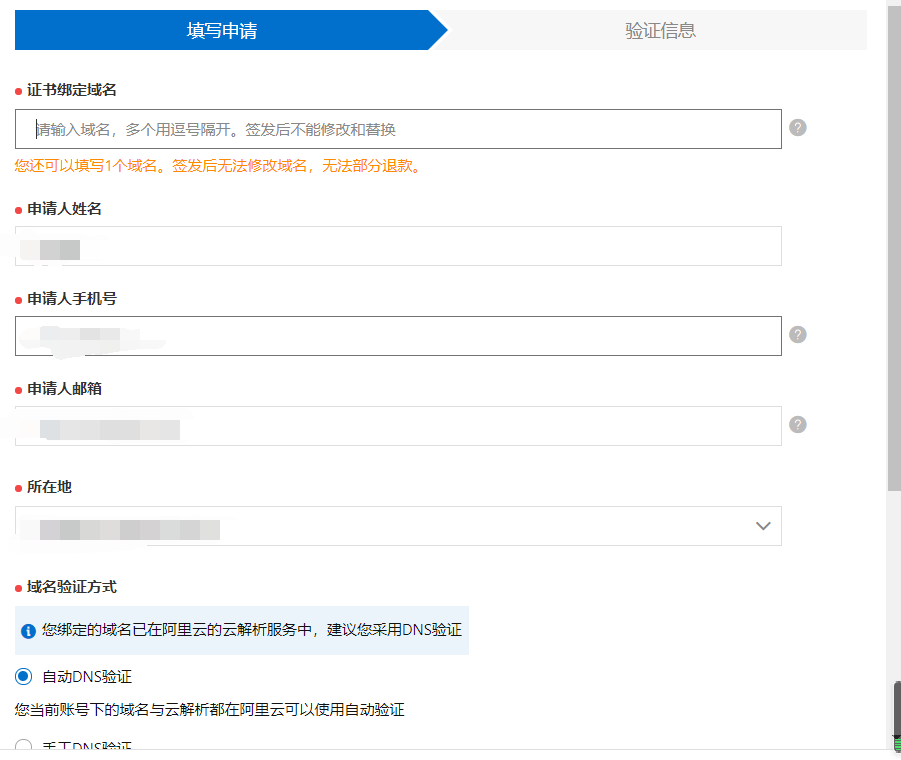
然后会生成一个txt的记录值,然后去你注册域名的地方添加txt记录,然后保存耐心等待审核
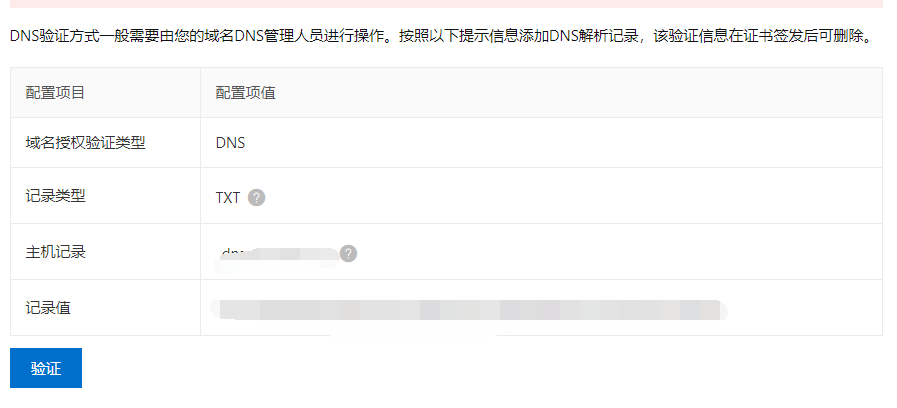

Ps:之前的教程讲过怎么添加DNS解析,这里就不详细讲了,说白了就是吧A记录改成TXT记录
成功后就可以下载你的证书了

接着将你的证书文件传到手机上
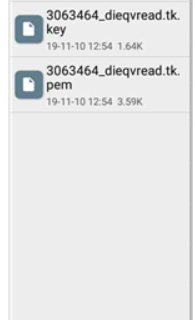
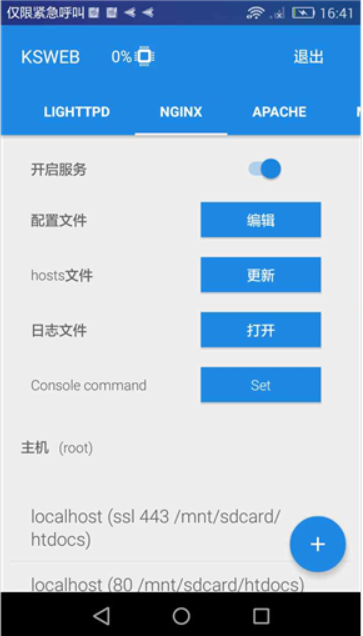
接着打开ksweb选择NGINX,然后点击添加按钮
选择开启https,然后找到刚刚的证书文件,点击添加,端口推荐443,接着点开你刚刚创建的主机,选择编辑主机配置文件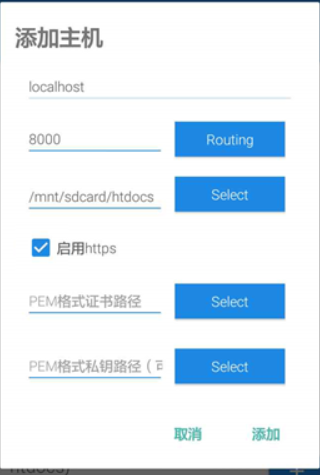
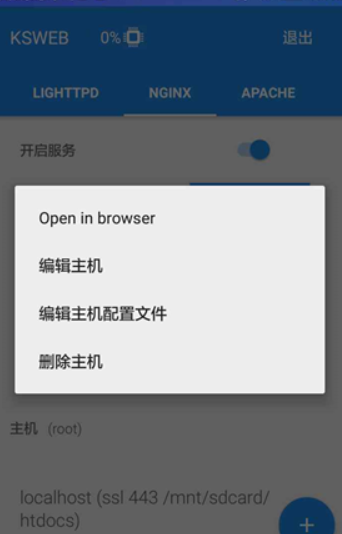
将内容修改,参考如下(推荐除了证书和密钥的位置按照你的实际情况修改,其他的按照这个修改)
## !!!WARNING!!!
## Be careful changing this configuration file!
## Some changes may result in incorrect function of the program.
## Always make backups of configuration files before any changes.
## --------------------------------------------------------------
#Do not remove this label!
#_TYPE_=7
#======
server {
#begin_port (do not remove this label!)
listen 488;
#end_port (do not remove this label!)
#begin_hostname (do not remove this label!)
server_name localhost;
#end_hostname (do not remove this label!)
#begin_docroot (do not remove this label!)
root /mnt/sdcard/htdocs;
#end_docroot (do not remove this label!)
ssl on;
#Path to your certificate in PEM format. It may contain private key in PEM format.
#Do not remove this option from this host!
#这是你的证书位置,按照你存放的地方修改
ssl_certificate "/mnt/sdcard/htdocs/miko/证书/2777326_miko.tk.pem";
#Path to your private key in PEM format. If your certificate includes private key then this field should contain path to the certificate.
#Do not remove this option from this host!
#这个是你的密钥文件,按照你存放的地方修改
ssl_certificate_key "/sdcard/htdocs/miko/证书/2777326_miko.tk.key";
ssl_session_timeout 5m;
ssl_protocols TLSv1 TLSv1.1 TLSv1.2;
ssl_ciphers ECDHE-RSA-AES128-GCM-SHA256:ECDHE:ECDH:AES:HIGH:!NULL:!aNULL:!MD5:!ADH:!RC4;
ssl_prefer_server_ciphers on;
index index.html index.htm index.php;
location @rewrite {
rewrite ^/(.*)$ /index.php?q=$1;
}
location / {
try_files $uri $uri/ @rewrite;
}
error_page 500 502 503 504 /50x.html;
location = /50x.html {
}
location ~ \.php$ {
fastcgi_pass unix:/data/data/ru.kslabs.ksweb/php.sock;
include /data/data/ru.kslabs.ksweb/components/nginx/conf/fastcgi_params;
fastcgi_index index.php;
fastcgi_param SCRIPT_FILENAME $document_root$fastcgi_script_name;
}
}
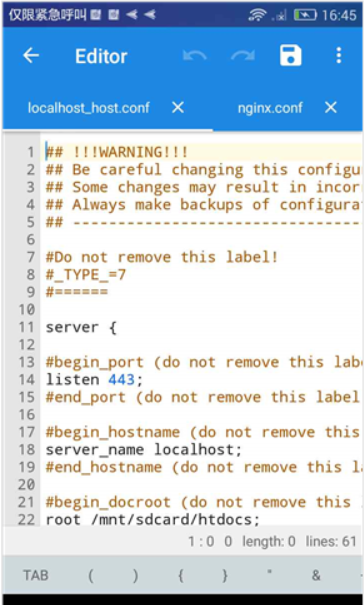
接下来去sakura内网映射官网添加https映射,本地端口添加为之前你设置的那个(刚刚我设置是是443,现在就不该它就行了)

老规矩输入我们的域名,然后点击随机端口后点添加,然后网页向下拖动选择用于原版 Frpc 的配置文件

接着就是之前熟悉的操作
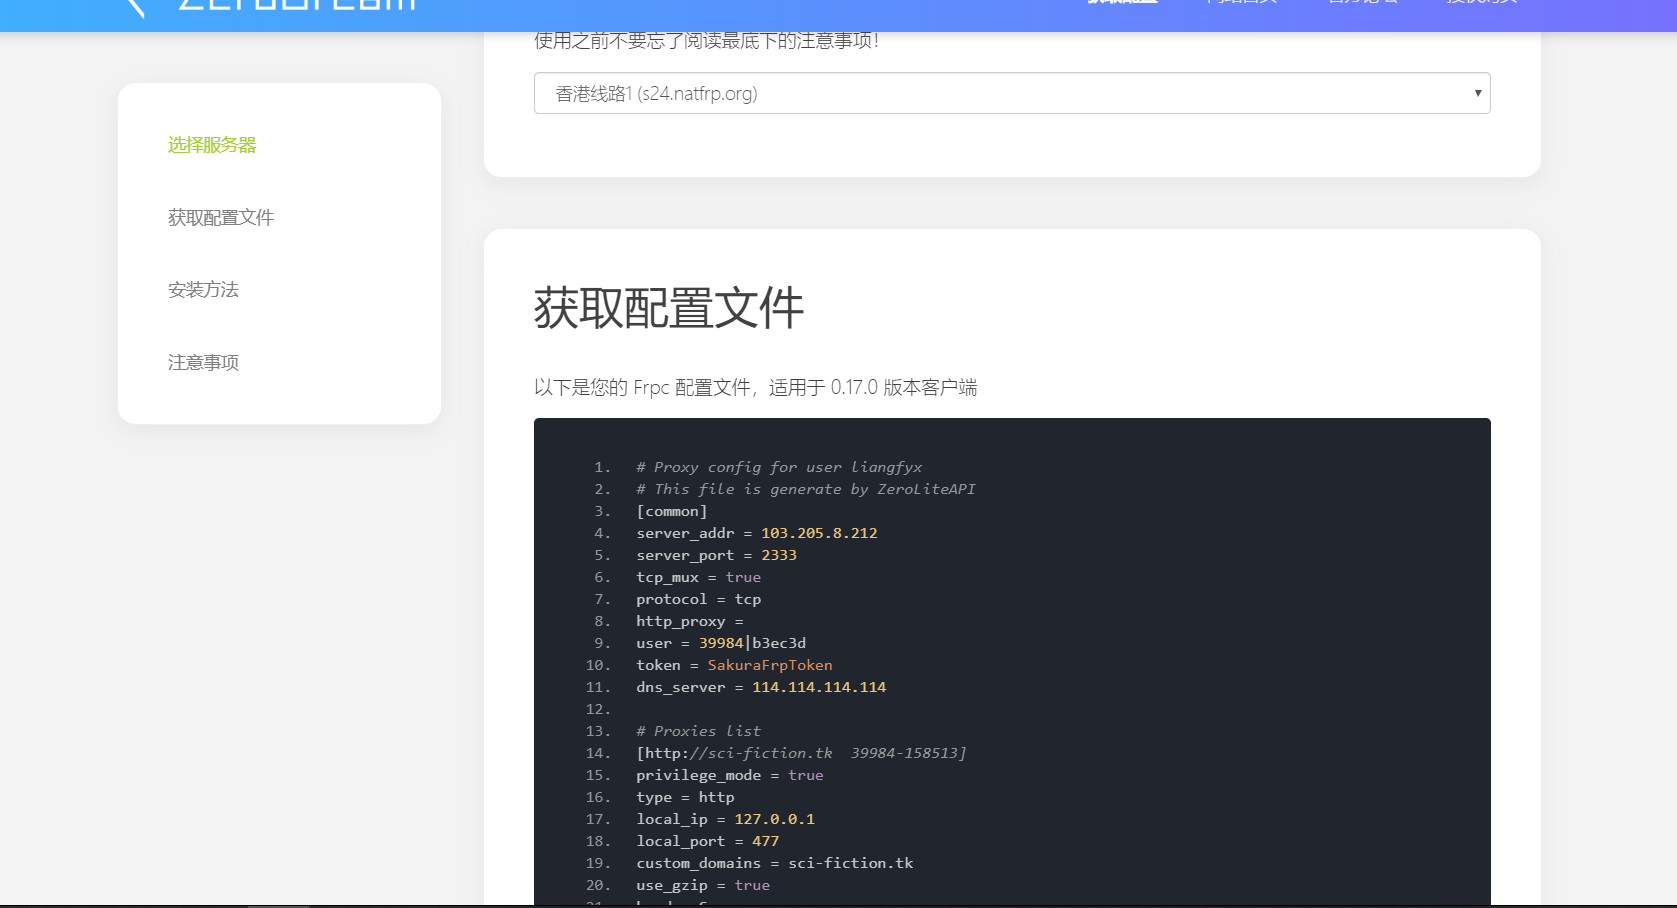
复制下面提供的文本,然后修改之前的配置信息,不会的可以看我之前的教程
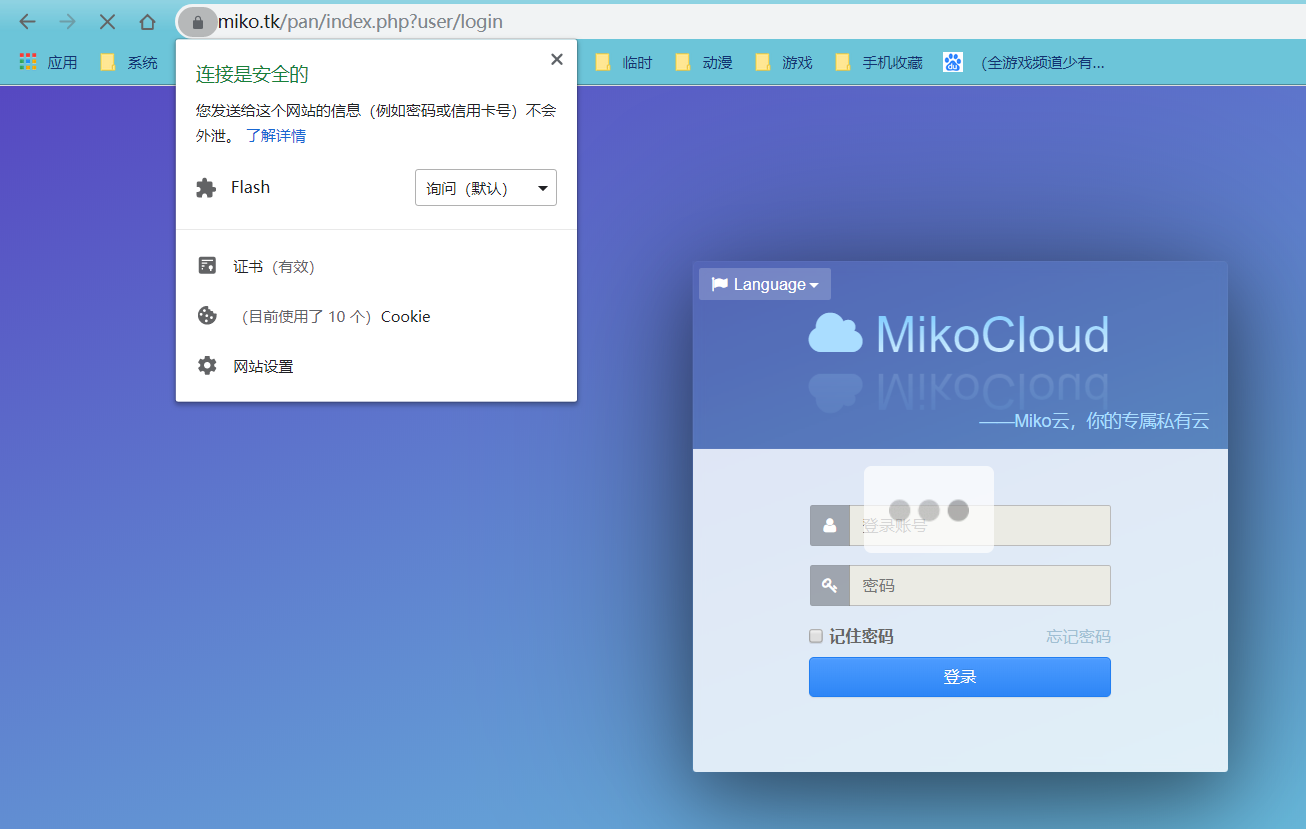
如下https协议变开通成功了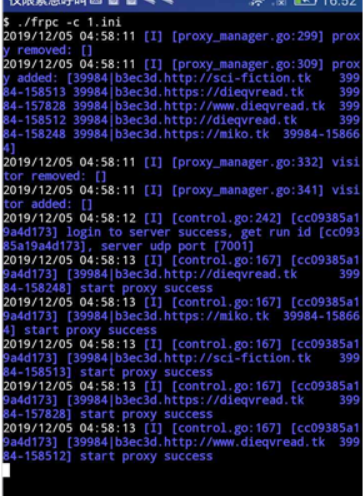
新手上路,如有错误的地方欢迎指正